While the trend today is to build boats that have minimal exterior teak trim, in the last 40 years yacht builders have produced thousands of trawlers and cruising sailboats that bristle with beautiful, varnished teak trim, rails, window frames and other details. Few can walk past a well-maintained yacht and not notice and admire the glistening beauty of brightwork done right.
Okay, let’s say you just paid a healthy sum to have your brightwork brought up to perfection from bare wood. The trick now to make a conscious commitment to keep that varnish looking spiffy and the wood protected. If you don't maintain it, down the road it will go south and you will have to start all over. Which is one reason why some boat owners prefer the au naturel look of unvarnished exterior teak.
It is important to understand that varnished teak brightwork can last a long time, but only if you keep on it. Properly maintained, a boat can go years without needing an expensive professional finisher’s repeat performance.
For starters, keep an emergency repair kit onboard. Have a small bottle of varnish (the same varnish that is on the teak now), some fresh sandpaper, masking tape, disposable foam brushes, a tack cloth, and some thinner. A fingernail polish bottle works well.
Then, when a cap rail gets whacked, or someone scraps against a beautifully varnished surface with a jacket zipper, you can do a temporary touch up job until you have time to properly sand and recoat the damaged area. If the scratch or ding is deep and left untouched, water will get behind the varnish and it is a downward slide that will only get worse...and expensive.
In a perfect world, crew members will wipe down the varnished surfaces every morning, a great habit to get into while cruising, one’s morning coffee in hand. Removing dew and sea salt is a healthy routine for the brightwork, as dried salt crystals will damage the finish if a tensioned line or foot later rubs on the varnish. Some professionals recommend using an alcohol-based cleaner for this, as it displaces water. Either way, it starts the day off right. And provides a regular opportunity to inspect the brightwork up close for crazing, a sure sign the sunlight is breaking down the varnish. Left unnoticed, it will deteriorate until all of it has to be stripped off.
When you do have the time to repair the scrape or ding, use fresh sandpaper of 320 or 400 grit, and lightly sand to remove the blemish, feathering strokes until the damaged and surrounding varnish feels and looks smooth. Also put masking take on surrounding fiberglass and hardware, although sometimes it’s even better if you can remove the hardware.
If you are serious about doing a super job, be careful of your clothing, and if you did a lot of sanding, change clothes to minimize any dust or sanding particles. If you want to be anal about it, wear nylon clothes when varnishing as it won’t hold dust or lint.
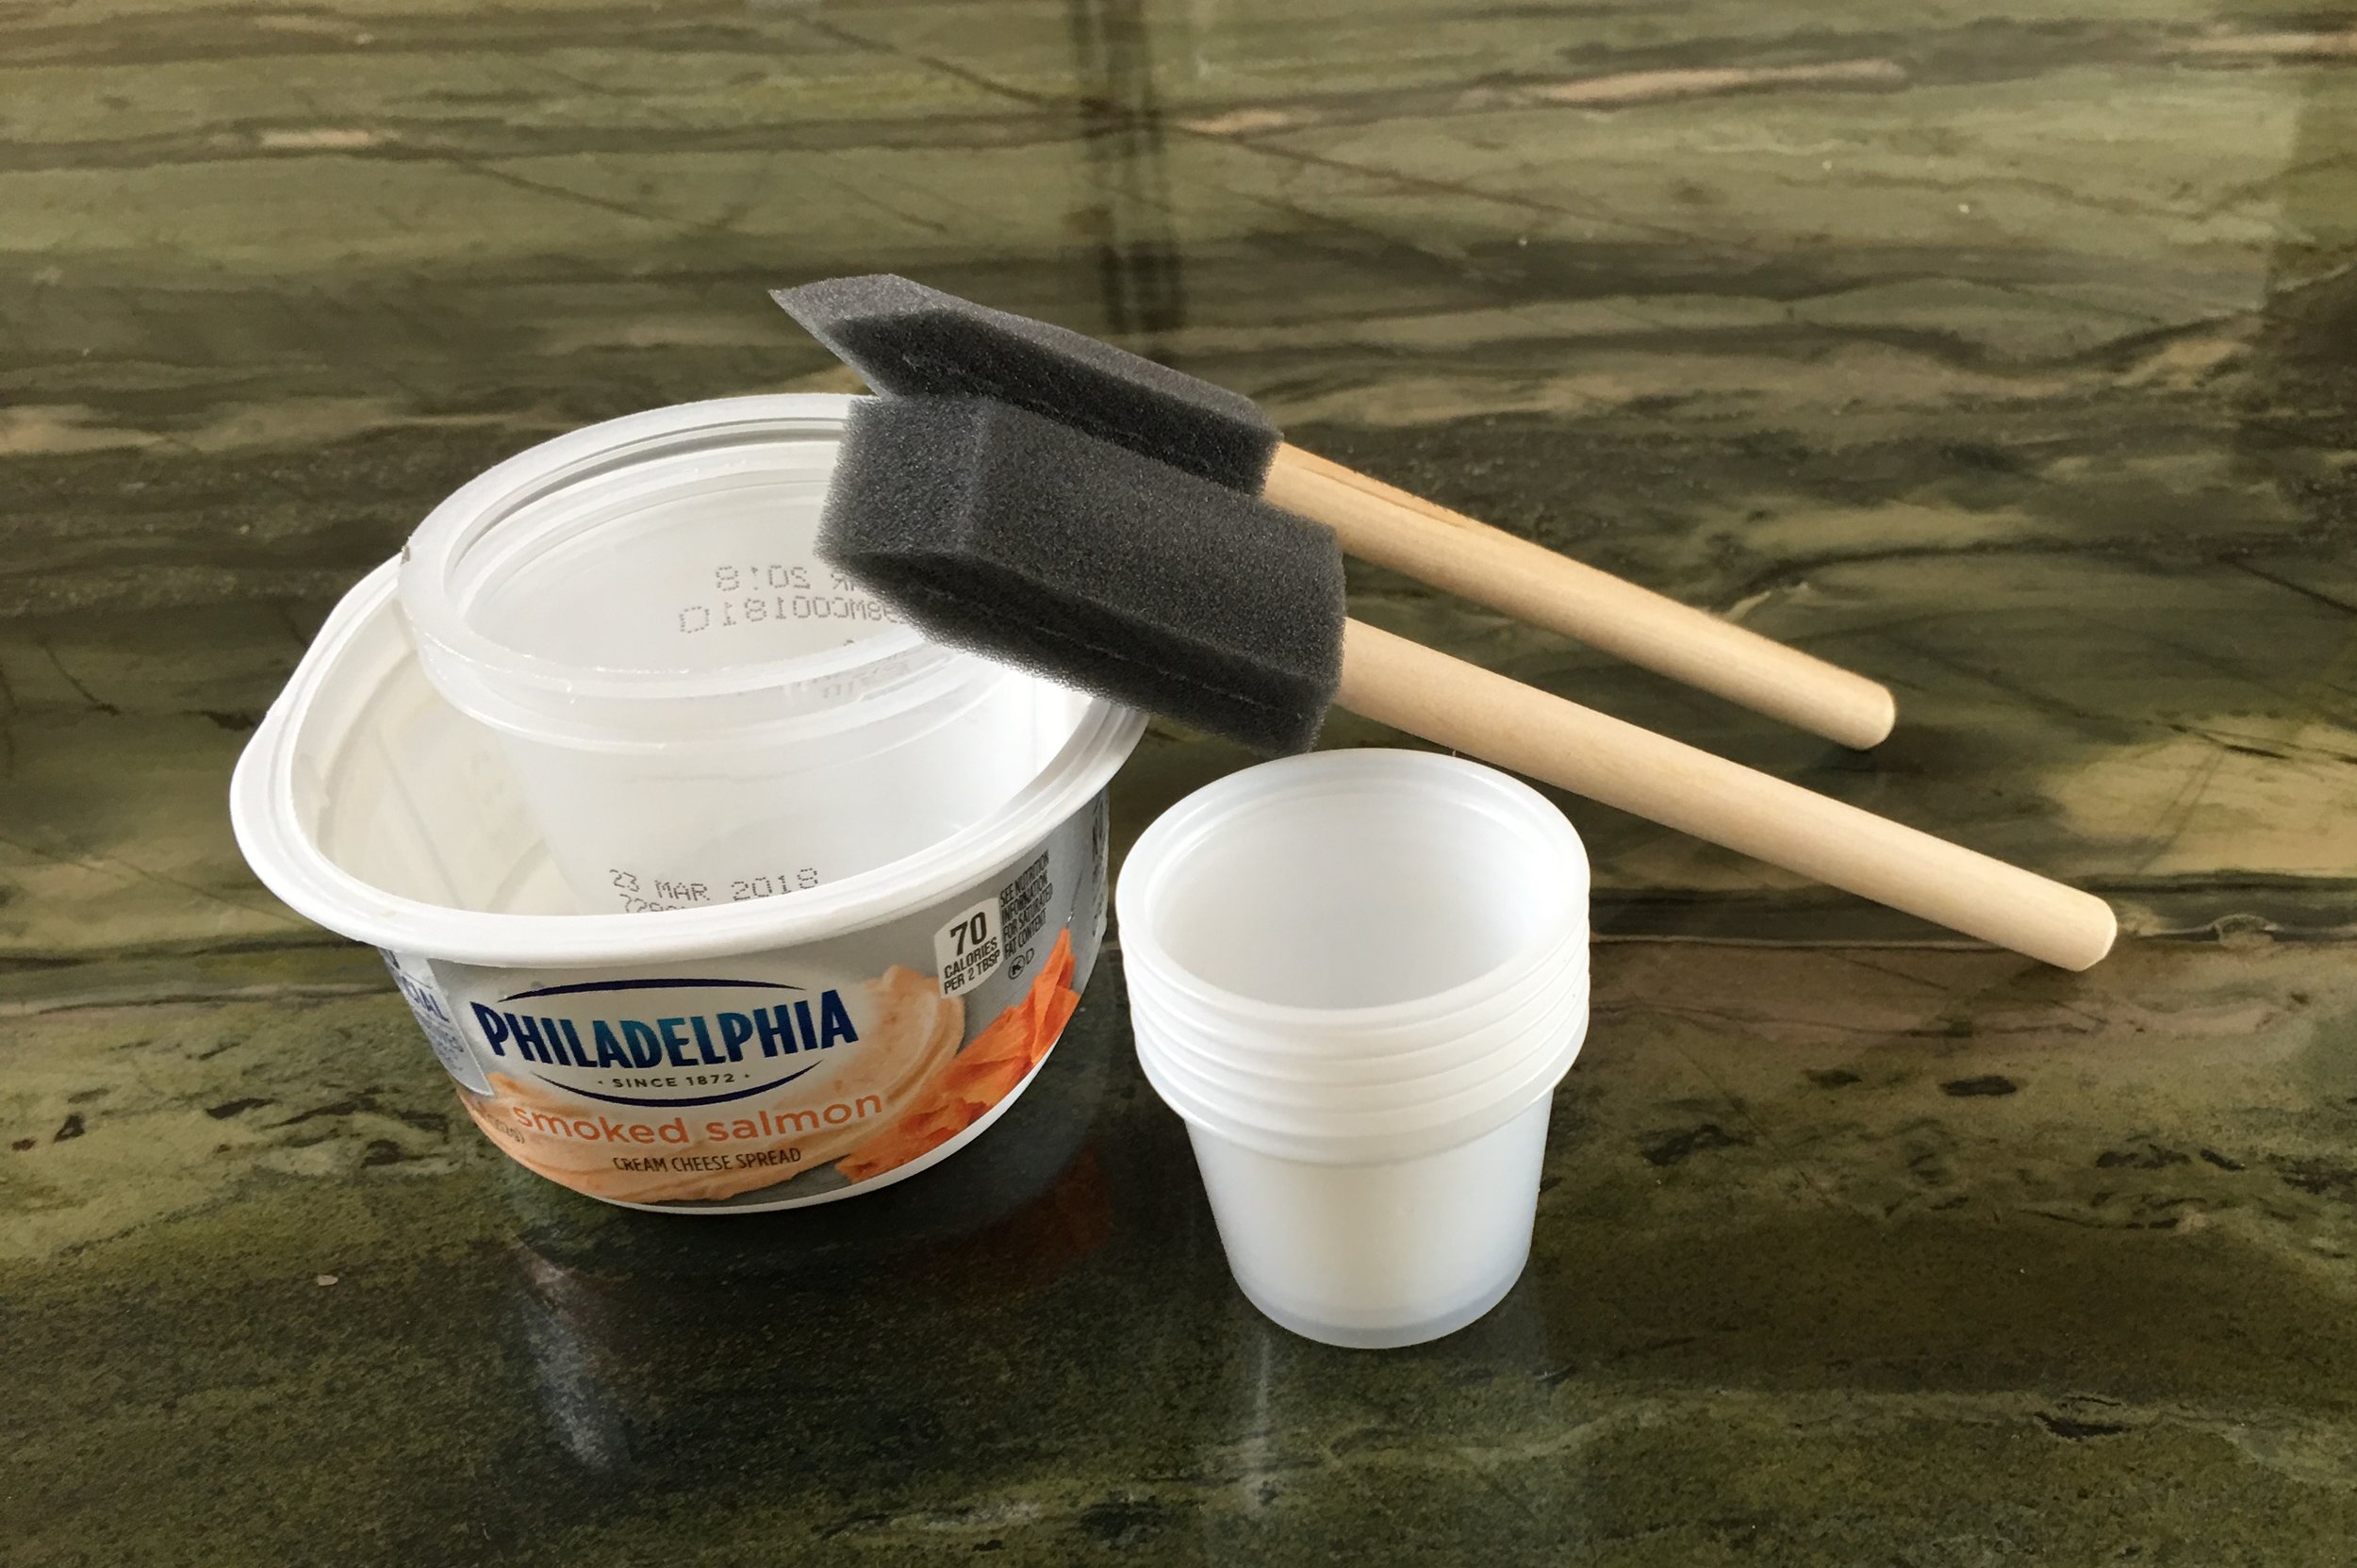
Another tip: NEVER varnish directly out of the can but instead use a clean disposable container. I save little plastic cups and containers for varnish and epoxy projects. From takeout food dishes and bowls to those little cups they give you with ketchup and BBQ sauce, I have a never-ending supply of all sizes that I keep rather than recycle.
While many professionals use natural bristle brushes, others use disposable foam brushes, so I suggest going the foam route, especially for the touch up and small repairs we’re talking about here.
The best time to do the varnish repair is midday, after the morning dew is gone and before the afternoon starts to cool. You may need to provide shade to the coated surface if the sun is bright.
Professional finishers always sand between these coats of varnish, as some dust will always settle on the first coat. Follow their lead. Before you put on that second repair coat, gently sand the first coat...again with fresh 320 or 400 grit sandpaper. The tack cloth removes the dust before you apply the second coat.
If you love your boat and want to proudly show off the gorgeous look of a proper yacht, embrace these points and you can avoid spending the big bucks of a professional restoration for years to come.


